Three weeks ago my buddy Dave and I capped the final bottle of our first batch of Wheat beer–a total yield of 49 bottles. We used the Afternoon Deelite Wheat recipe from Madison’s Wine and Hop Shop. Here’s a list of the ingredients we used:
- 2.5 lbs 2-Row malt
- 3 lbs Red Wheat malt
- 8 oz Acidulated malt
- 3 lbs wheat liquid malt extract
- 1 lb pilsen dry malt extract
- 2 oz Sorachi Ace hop pellets
- 1 oz Perle hop pellets
- Wyeast 1010
In the light of full disclosure, this was the third time I’ve made beer. I mention this because making a batch of beer was included in my Day Zero Project, even though I brewed twice before the project went live on the first of this year. I started making the project list last August, before I made my first batch. But seeing as I couldn’t just cross off an item immediately when the list went live (and because brewing is fun!) I had to brew again.
My first brew was an oatmeal stout that turned out quite well by the six-month mark. I named it the Not-So-Scaredy Cat Oatmeal Stout because the original recipe was called Scaredy Cat and I wanted to illustrate that my first attempt wasn’t so scary after all (though my friends and family were scared to try it!) My second brew was an Oktoberfest ale. Generally, Oktoberfests are lagered, but I don’t own any lagering equipment. The recipe I used was called Oktoberfast since making ales is faster than lagers. I called my brew Aletoberfest in an attempt to be just as clever. It turned out quite well, though I think I distributed the bottles four weeks too soon.
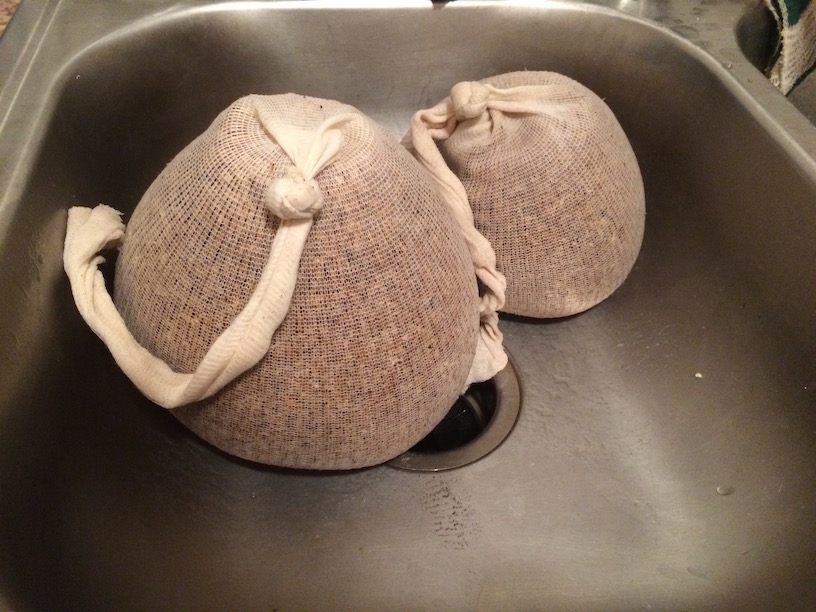
In any case, back to our wheat: We were able to mill the dry malt grains at the Wine and Hop Shop when buying the kit, which really saved us time fiddling with my Nutri-Bullet, which probably wouldn’t have done a very good job anyway. We filled two cheesecloths with the dry malts and soaked them in two-and-a-half gallons of filtered water at 155 degrees Fahrenheit in my 10-gallon brewing kettle. I think this process is known as mashing.
After about an hour, we took two gallons of hot water (not quite boiling) and slowly poured it over the cheesecloths as we pulled them out of the brewing kettle. After that we brought the wort to a boil before adding the pilsen dry malt extract and the package of Perle hop pellets. It was difficult to measure the temperature of the wort during this process because the thermometer welded into the side sits at about the five-gallon mark–higher than wort. Furthermore, I didn’t have a floating thermometer that some home brewers use. I found, though, that keeping the cover on the brewing kettle helps to both give a more accurate temperature reading and mitigate evaporation.
We did experience a “hot break” within five minutes of bringing the wort back to a boil. When the malt extract is heated quickly, it expands quite a bit, causing sticky foam to seep out the top of the kettle. I was afraid of this happening because when I experienced this in my last brew, I spent weeks trying to clean it off my stove. In any case, reducing the heat a bit and then increasing it again curtailed the hot break.
Forty-five minutes into the boil we added the liquid malt extract. Ten minutes later we added the first package of Sorachi hop pellets, and then the second package five minutes after that. And that was it. We turned off the heat and let the wort sit for fifteen minutes before beginning the cooling process.
Cooling the wort is an interesting process. You can’t just let the wort sit until it reaches room temperature–wort is the perfect substance for breeding bacteria very quickly, which would ruin the beer. Some people address this problem by using a wort chiller, usually in the form of a large, copper coil with two hose attachments for delivering cold water though the coil. I don’t have any sophisticated liquid cooling technology, so I just used twenty pounds of ice I bought earlier that day. I filled the sink with a little ice and placed the brewing kettle on top. I surrounded the sides of the kettle with more ice and placed a bunch more on top of the kettle as well. The wort was down to about 100 degrees within fifteen minutes.
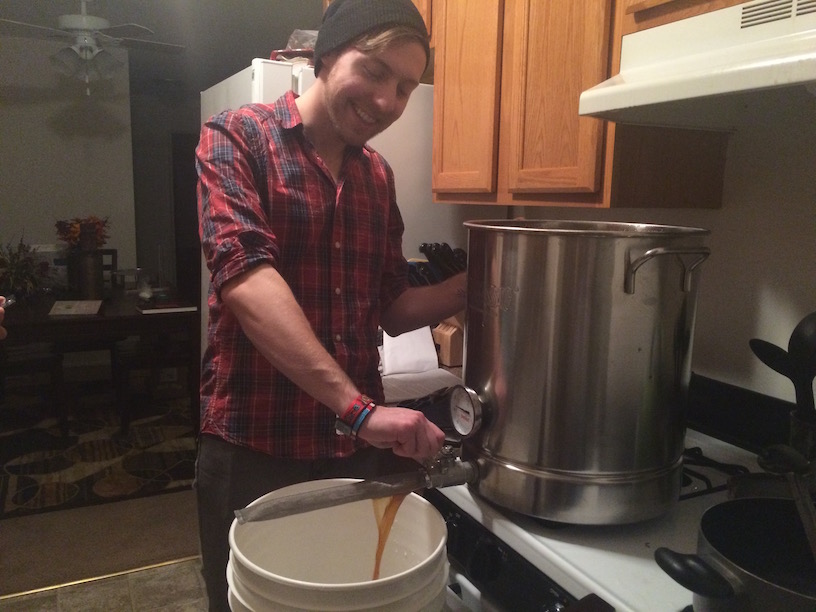
We have a plastic food-grade bucket for use as our fermenter. Since I’m not a fan of siphoning the wort from the kettle to the bucket (too great of a chance of contamination, and there’s the eww factor) I made sure that I bought a brewing kettle with a spigot. The spigot has a mesh attachment in the form of a cylinder, which helped to reduce the amount of hop and malt residue entering the fermenter. After filling the fermenter, we added the yeast and sealed the lid.
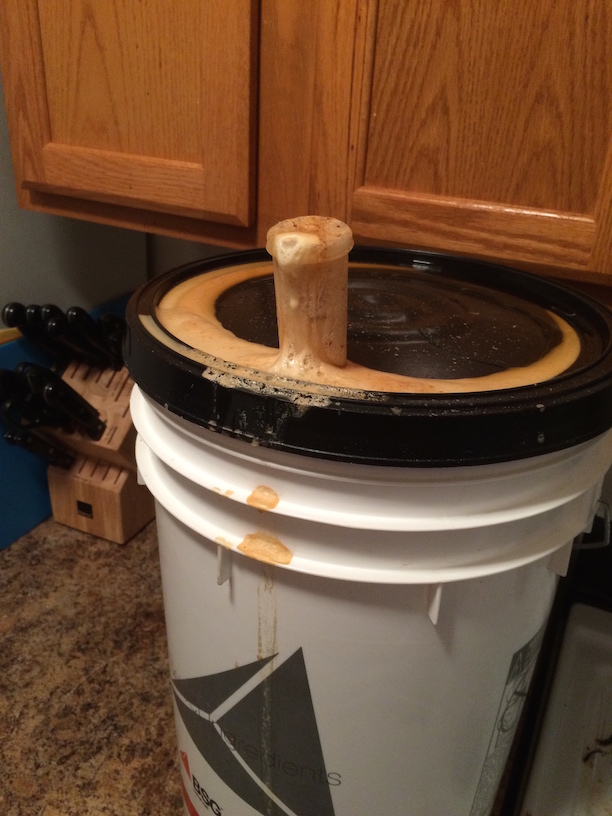
Within 24 hours the krausen, or malty foam produced by rapid carbon dioxide development, seeped through air lock onto the lid, producing a frothy, malt waterfall onto the kitchen floor. I cleaned the mess and the air lock and faced no further issues after that.
After two weeks in the fermenter, the yeast worked through all the sugars and the brew was ready to bottle. We added a cup of corn sugar to the brew to reactivate the yeast and carbonate the beer. Thanks to a spigot on the fermenting bucket we again did not have to deal with siphoning. Just turn the spigot handle, fill the bottle, close the spigot, and cap the bottle. It was a bit of an assembly line process, though we had our share of troubles capping some bottles. A few slipped, but we’re lucky that none broke.
In March I’ll give the brew a taste and update this post with my thoughts. Until then…